Add a Third Set of Leaves. Similar to the collar make its bottom rounded and make the two sides at the top flat.

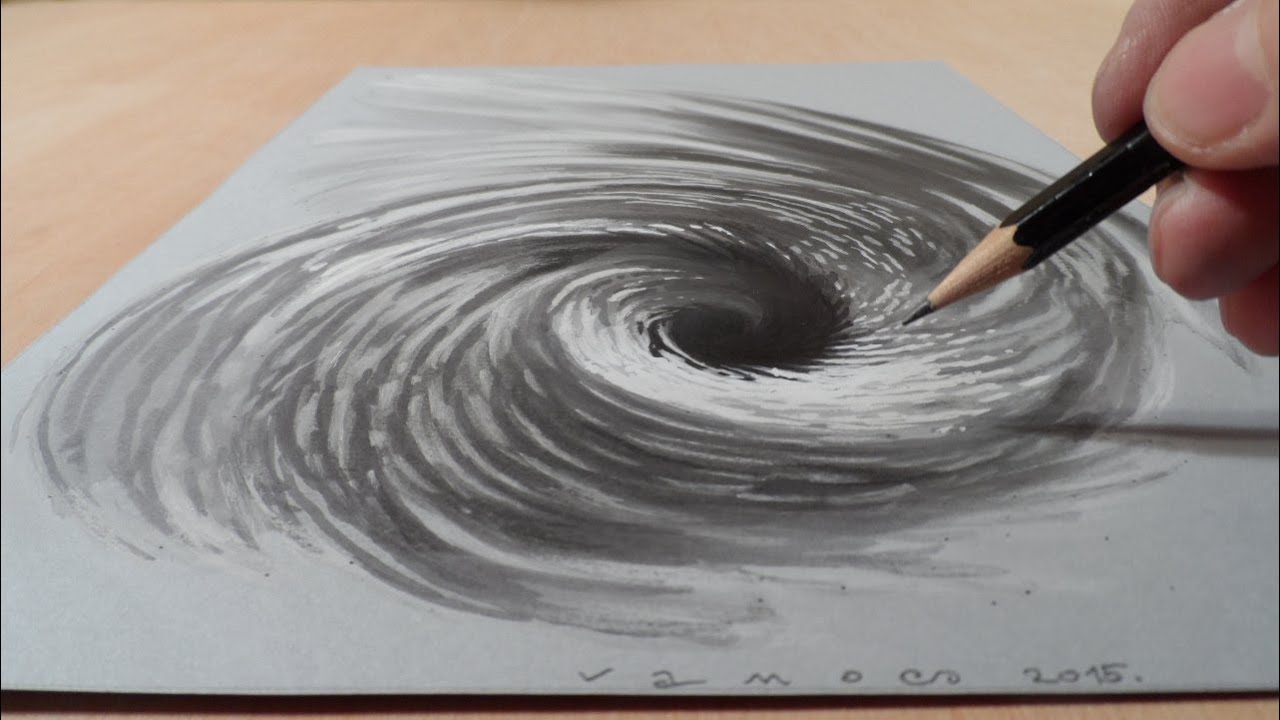
Kerby Rosanes Whirlpool Geomorphia Color Drawing Art Coloring Book Art Animorphia Coloring Book
Do these lines accordingly to what you want the cat to look like.

. To draw a snail you need to start with a circle whose one side is overlapped or as a semicircle circle. Draw the head fins. Step 3 Draw the Shaft Shovel shaft drawing.
Step 1 Reduce the image paper inappropriate size. Color Your House In Optional Video. You will find pencil color pencils oil pastel and water color methods.
In front of the torso draw two fins of the same shape as in the example. Fill the water one inch above the jet in the bathtub. Draw a Door and Doorknob.
Start this fin just in front of the smaller bottom fin and just inside the main body oval. Explore Thousands of Inspiring Classes for Creative and Curious People. How to make a whirlpool step by step tutorial from your favourite aquatic water bending wanna-be superhero BubblemanStep 1.
Draw Some Angled Lines. Now take half a cup of bleach and pour it into the water tub. From the top of these parallel lines draw 2 more diagonal lines which is closer than the first one.
By the joke draw one of the most important. Depict the back of the torso. Step 2 Start offsetting your composition into the image paper which has a pencil.
Make the middle one the tallest and draw it pointing directly upwards. Begin by drawing the fin on the side closer to use. Then take the line back up into the main body to join with the starting point.
Draw two curved lines from both sides of the oval. Take 4-5 tablespoons of dishwashing detergent and add it to the water in the bathtub. From the side of the eyes we drew pull two small diagonal lines one bigger than the other the longer one will be the nose bridge and the smaller will be the nose.
Lightly sketch out the outline of the whole animal using simple strokes. Draw a Round Window. Outline the guitar neck.
This will also help you to check form and proportion so you can adjust accordingly. Basic Line Drawing Tips. Draw the Leaves of Your Pineapple.
At this stage leave them with open tips. Draw additional lines parallel with every verticle line drawn in prior steps. Step 3 Draw the Spheres on the Tips.
First draw an oval shape that creates the top of the lampshade. Connect the two previously drawn ovals on both sides with two identical short curved lines. Draw Another Set of Angled Lines.
The size of A4 paper is usually accepted. It will give a 3d look to the. Start to fill out the space between the two arches you made earlier for the lips.
Draw the Last Set of Leaves. It really should be smaller sized than a poster and larger than a stamp. Draw 2 parallel horizontal lines on the top of the ladder.
Step 4 Outline the Handle Shovel handle outline drawing. First of all wear gloves. To draw this element you need to draw straight lines.
These lines should be on little distance. Outline two different sized ovals which will then become the base for the guitar body. Leave it for 10-20 minutes.
Continue drawing the torso and draw a smooth curved line. Adding in light sketches as you go helps you to see your progress but gives you room for errors or changes. Curve the top line of the fin slightly upwards before taking it down overlapping slightly with the main lower fin.
Draw an oval to predict the head of the snail followed by the geometrical shape depicted as in the below picture. Draw a line between each of the curves with a small dip in the middle to show where the lips are separated. Detail one edge of the slope.
How to Draw a Pineapple. Draw 2 sets of parallel lines at the beginning. In general the step-by-step procedure to drawing any subject is the same.
Push off from the side of the. Fill in the Facial Features. Make its width slightly narrower than that of the collar.
Sketch out a long rounded line. Sketch out the eyes. Draw half of the nose.
If you are looking for inspiration see the Peacock Feather Drawings or for peacock drawings and feather drawings see 50 Peacock Drawings. Let bleach and dishwashing detergent do their workÂ. Coming out of the collar add the shaft.
Here are the 10 best tutorials on how to draw a peacock feather. Draw the next set of spikes curving sideways even more and also make them slightly thinner than the previous set. Many of them are step by step and break it down as easy as possible.
Draw Some Window Panes. On one side draw a rounded line to depict the edge of the fin which is raised up. Ad Fun and Easy-to-Follow Classes to Keep You Engaged and Learning.
Draw another two similar curves inside and followed by a straight line in the middle of those curves. Join the curves with a horizontal curved line as shown in the picture below. How to Draw a House.
Draw the spikes directly to its sides curving slightly away form it. Draw a Window Pane for the Round Window. Learn How to Draw Cute Animals.
Draw the outline of the guitar body. This site is dependent on your selection. Next add construction lines to your drawing to indicate the main features.
Color in Your Pineapple Optional Video. Add Some More Leaves on Top. Around the collar draw the blade of the shovel.
Drawing A 3d Vortex Hole Illusion Three Dimensional Space Hole Drawing Illusion Drawings 3d Drawings

Pin On Trick Art

Whirlpool Galaxy Drawing Galaxy Drawings Whirlpool Galaxy Black Hole Tattoo

How To Draw A Whirlpool Vortex On Your Fantasy Maps Map Effects In 2022 Sand Drawing Fantasy Map Fantasy World Map

Blue Color Spiral Water Vortex Blue Green Spiral Water Ring Whirlpool Water Wave Water Vortex Water Clipart Blue Water Vortex Blue Liquid Water Swirl Png Tra Water Swirl Water Drawing Spiral
Pin On 2d Animation

Your Software Flow Is More Like A Whirlpool Than A Pipeline Javalobby Edgar Allan Poe Illustration Arthur Rackham Edgar Allan Poe

Barrel Part 3 Abstract Artwork Background Design Art
0 comments
Post a Comment